Twelve months, twelve different preserves, many new friends, and lots of amazing recipes later, we are nearing the end of Tigress' Can Jam. Thank you, Tigress, for all of your hard work and excitement, which allowed us to revisit the classic preserves of our family histories, and gave us courage and inspiration to test out new ingredients.
This month's ingredient, dried fruit of any kind... My first thought was to try to make a sticky toffee pudding-like jam that I could preserve! After quite a bit of research, I couldn't come up with a recipe that I was comfortable enough to can safely.
My wife suggested trying mincemeat. Every holiday, we make a conscious effort to make as much of our meals as possible ourselves, as local as we can. But my father-in-law always buys terrible, chemical-tasting mincemeat tarts. We knew that we could definitely make ‘better than grocery store-bought’ tarts. And, if we could make them, we would be able to tweak them until we actually like mincemeat!
Many traditional mincemeat recipes we found called for using suet, this just didn't appeal to us. We wanted to capture the flavor of mincemeat, without the meat. Funny, since we typically add homemade bacon to almost everything! Still remaining skeptical that we would like mincemeat, I found a recipe for a dried fruit and nut conserve in Topp and Howard's, Small Batch Preserving. I wanted to add some more dimension, so I added dried apricots and dried figs, and then adjusted the measurements of all of the dried fruits. We found that the mixture also lacked in liquid so we increased the amount of apple juice.
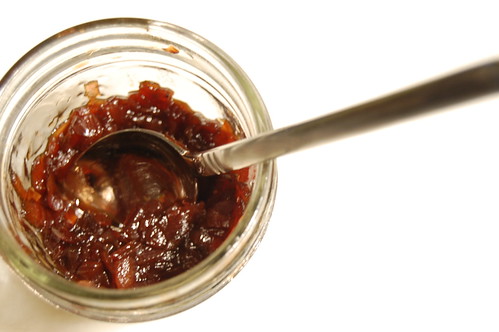
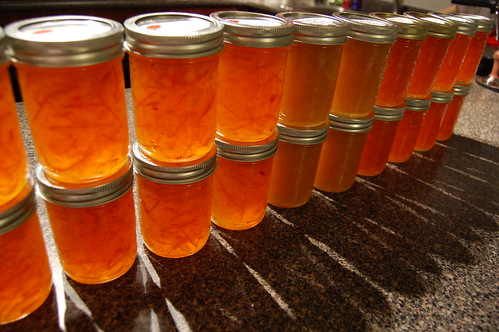
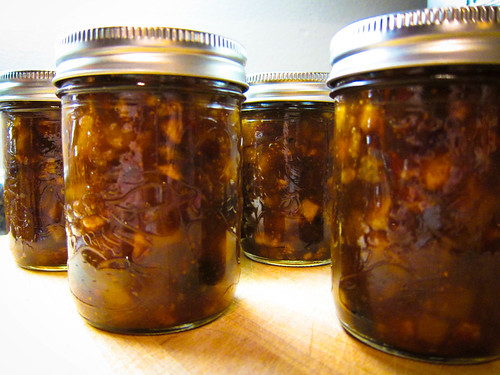
The end result? We really, really liked it! The texture retains some crunch from the pears and apples and the dried adds a concentrated depth of flavor. I am excited to make my own pastry and introduce my father-in-law to a new version of his favorite holiday treat. We hope he likes it as much as he likes our marmalade – every time he sees us, he returns an empty jar to be replaced with a full one! Nothing beats the feeling of someone loving what we have carefully chosen to preserve this year. Thanks again, Tigress, for such a fantastic experience.
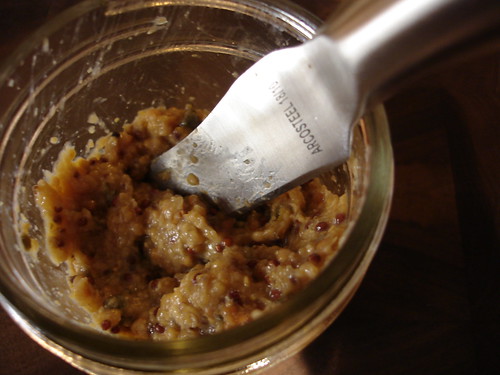
Dried Fruit Conserve (Minced-no-meat)
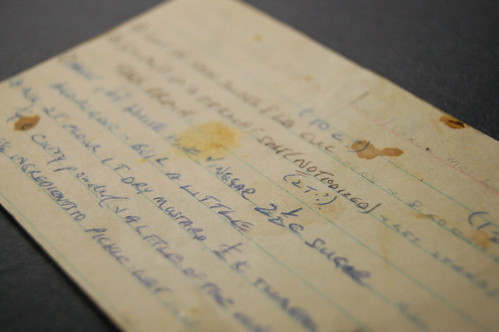
(adapted from The Complete Book of Small Batch Preserving)
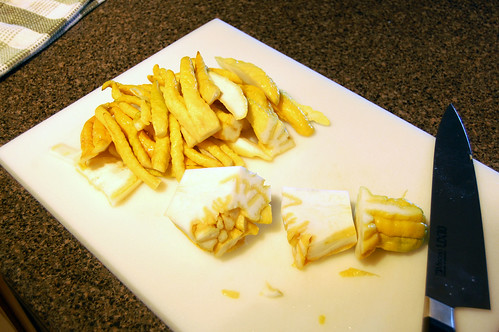
2 Granny Smith apples – peeled, cored and diced
2 Bosc Pears – peeled, cored and diced
½ cup of diced Medjool dates
½ cup of diced dried Calimyrna figs
½ cup of Thompson Raisins
½ cup of dried Cranberries
1 cup of Apple juice
2 cups of lightly packed Brown sugar
3 tbsp of Lemon juice
½ cup of chopped Pecans
1/8 tsp each of ground allspice, ground nutmeg and ground ginger
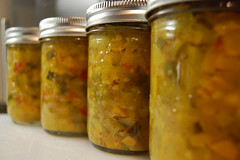
This recipe yielded 5 - 250ml Jars
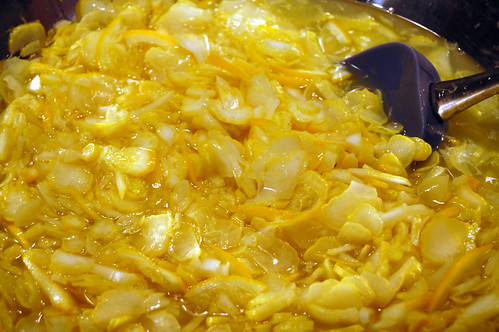
1 – Place apples, pears, dates, figs, raisins, cranberries and apple juice in a stainless steel saucepan. Bring to a full boil over high heat, cover, reduce heat and boil gently for 10 minutes or until fruit is tender, stirring occasionally.
2 – Stir in sugar and lemon juice. Return to a boil, reduce heat and boil gently, uncovered, until mixture forms a light gel, about 10 minutes, stirring frequently.
3 – Remove from heat and stir in pecans and spices.
4 – Ladle into hot jars and process for ten minutes.